I was working on more raised beds the past few days, and took a few more pictures to describe some steps in detail. See the Recycling Fence Panels post for more details on why I building out of old fence panels.
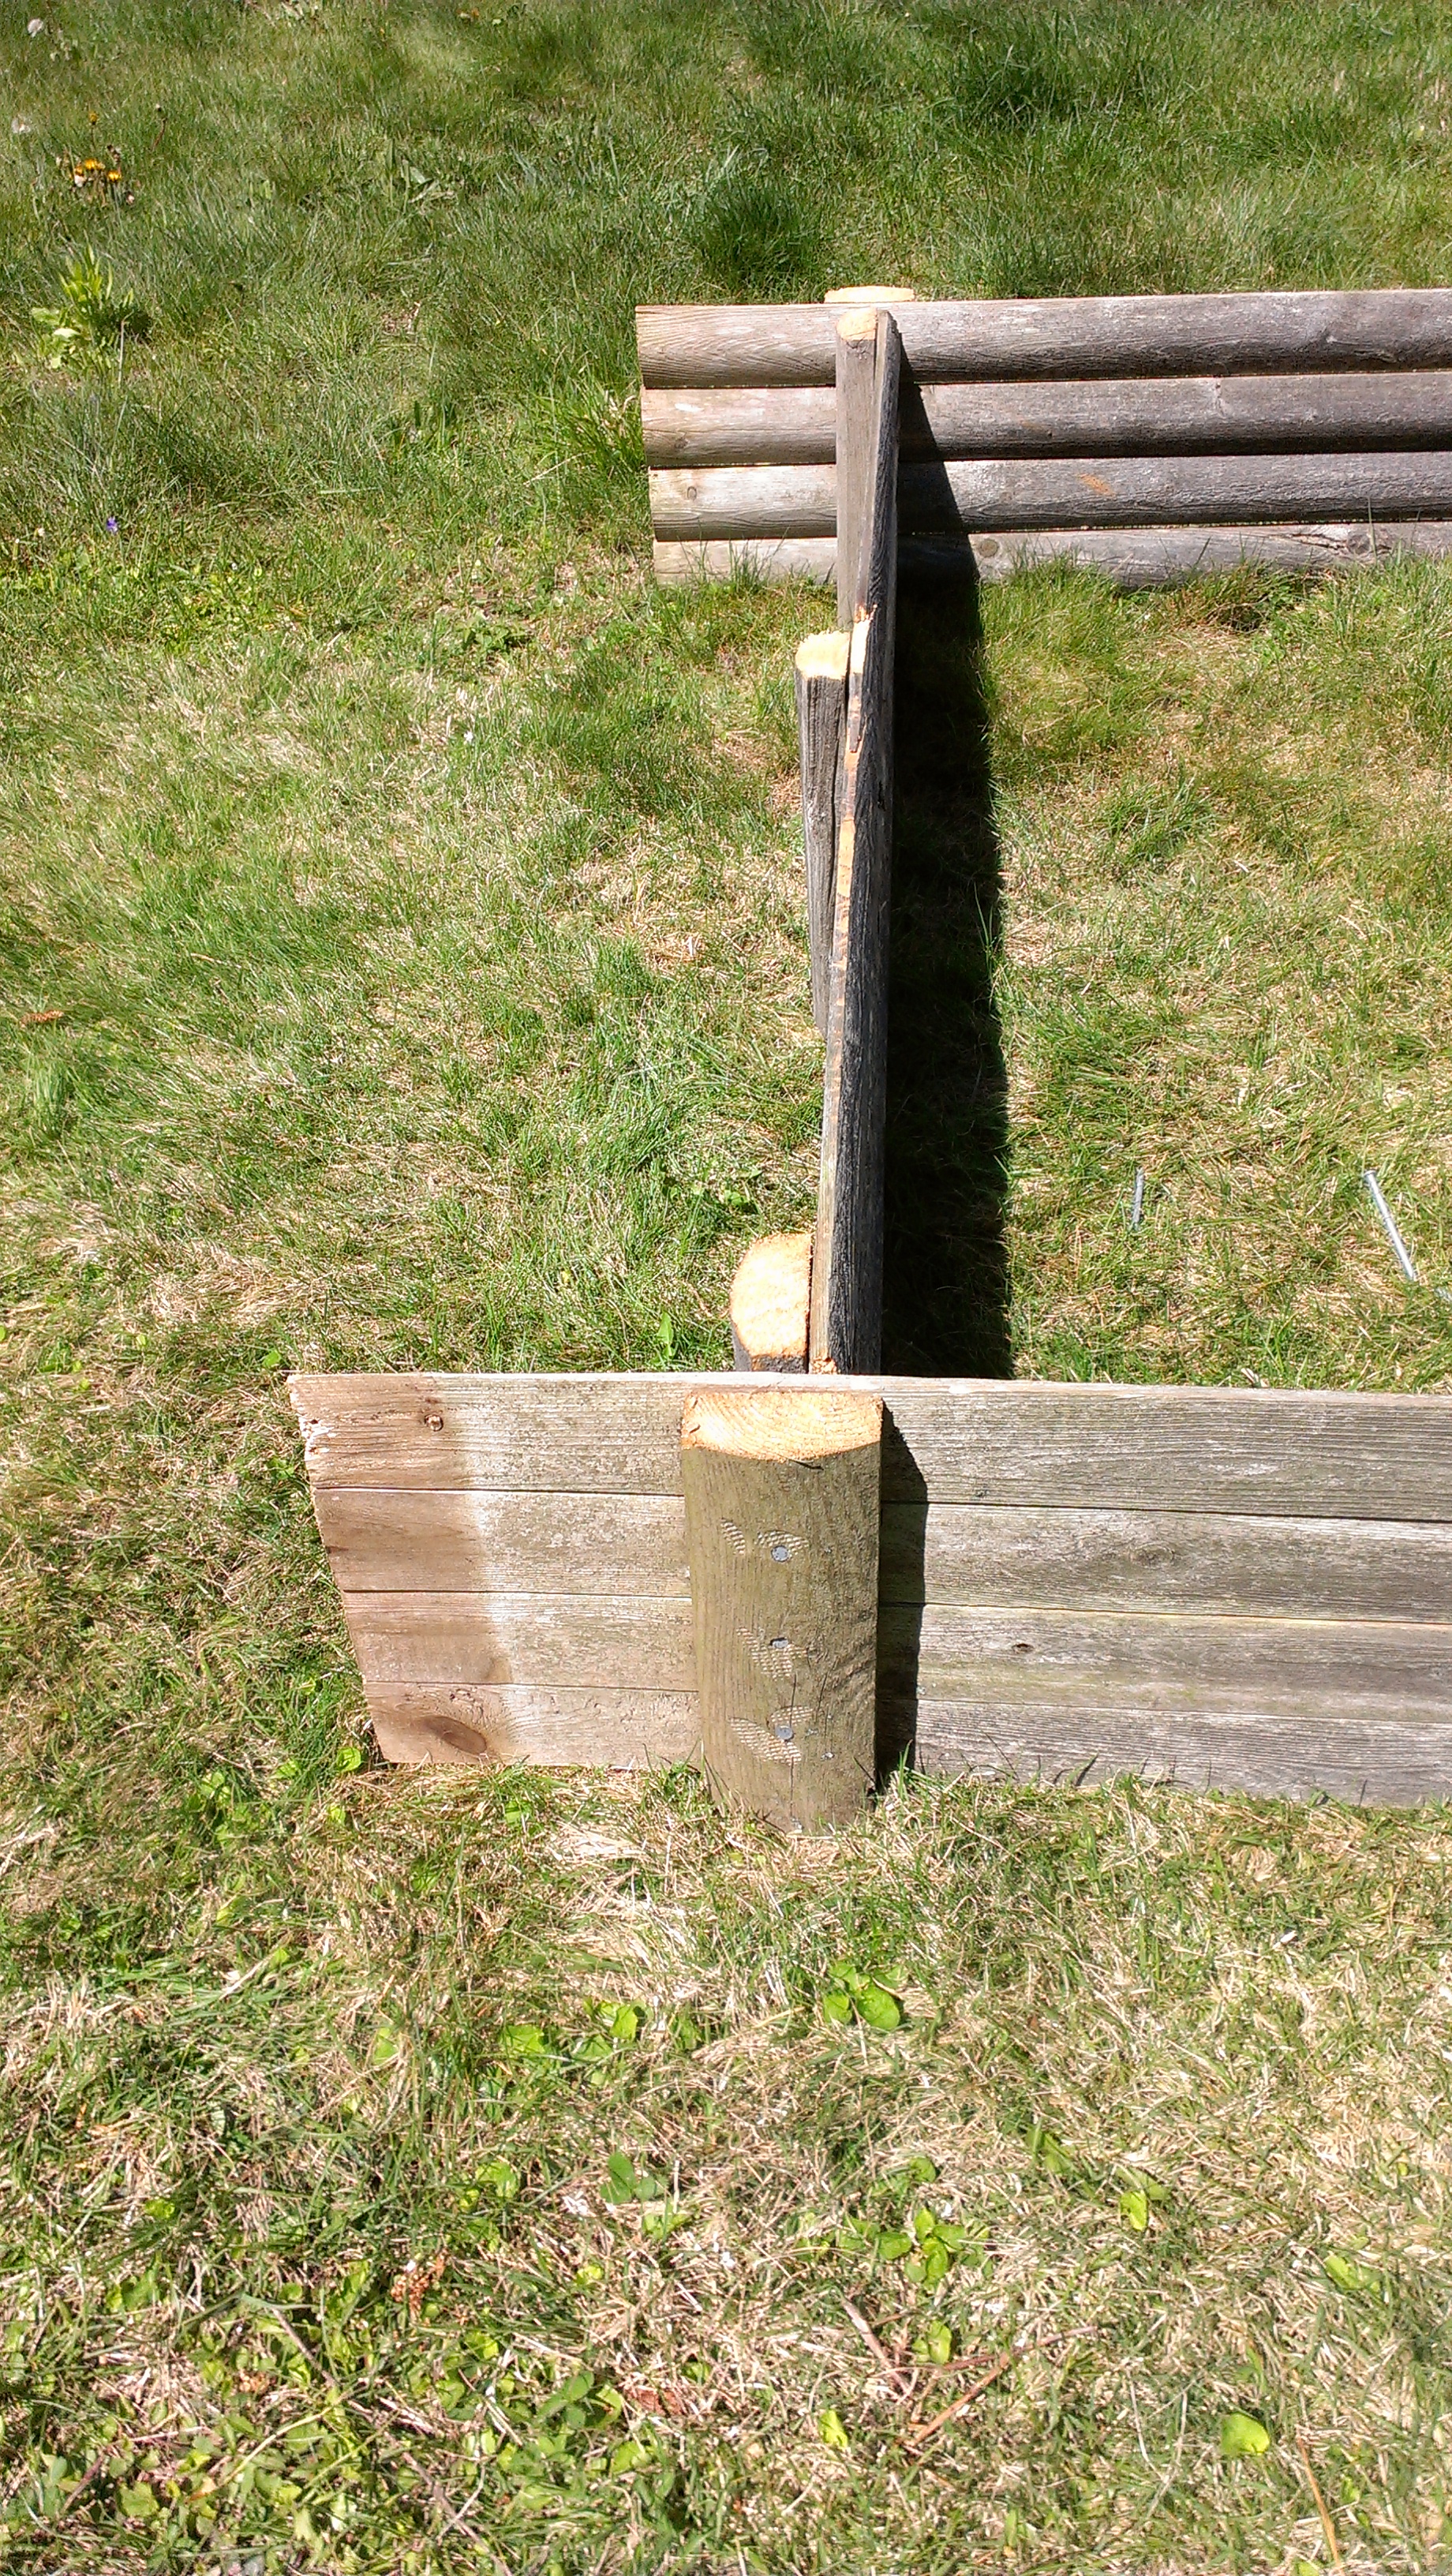
A closeup of the end of the bed showing the three nails through the laterals.
First, assembling the bed. I do this in a flat area in the grass. It is easier to work in the grass than in the dirt where the bed will go. It is also easier to build a few boxes at a time and as we’ll see in a bit you can’t do that in building in place. I cut the fence laterals between every fourth slat which actually works out evenly for a typical panel. I examine the top and bottom of the cut sections and use ones that don’t look as nice for the sides that must be trimmed off. Then the four sides get laid out in the grass and I start nailing.

The completed bed with the big hammer and jug of nails.
I use 16D galvanized nails, three to a corner. I bought a huge box on clearance a couple of years ago and keep some in an old jug to take to my projects. I also use a 22oz hammer as these are big nails. It is well worth having the proper tool for the job. I nail the former laterals to laterals so that the nails are in the thickest wood available. As I said in the prior post, I put the laterals on the outside so that they don’t stay perpetually wet in the soil.
Once the bed is in place it is time to fill it with soil. I use loam that I have dug up from pond making to fill the beds. Because there are rocks, roots and clumps of grasses and ferns in the loam, I hand screen it all before it goes in the bed. Nothing fancy, I just put the bucket of loam over the bed and using my hands and a garden fork screen through and pull out anything I don’t want. This takes time, but will result in soil that is much easier to work in the future. I also put in some composted manure into the bed when its made. Over time we’ll add mulch, compose and biochar so that the soil in the beds will improve over time.

A bucket full of loam ready to be screened.
One more important step, and that is to plan the building of the beds in an order so that the tractor can get to them while they are being made. It would be much harder to move the loam and do the screening without the tractor. In the above picture, the tractor bucket is right over the first bed and the second bed is off to the right. The below picture shows the second bed in place after the first has been filled. The tractor is not getting back to the first bed.
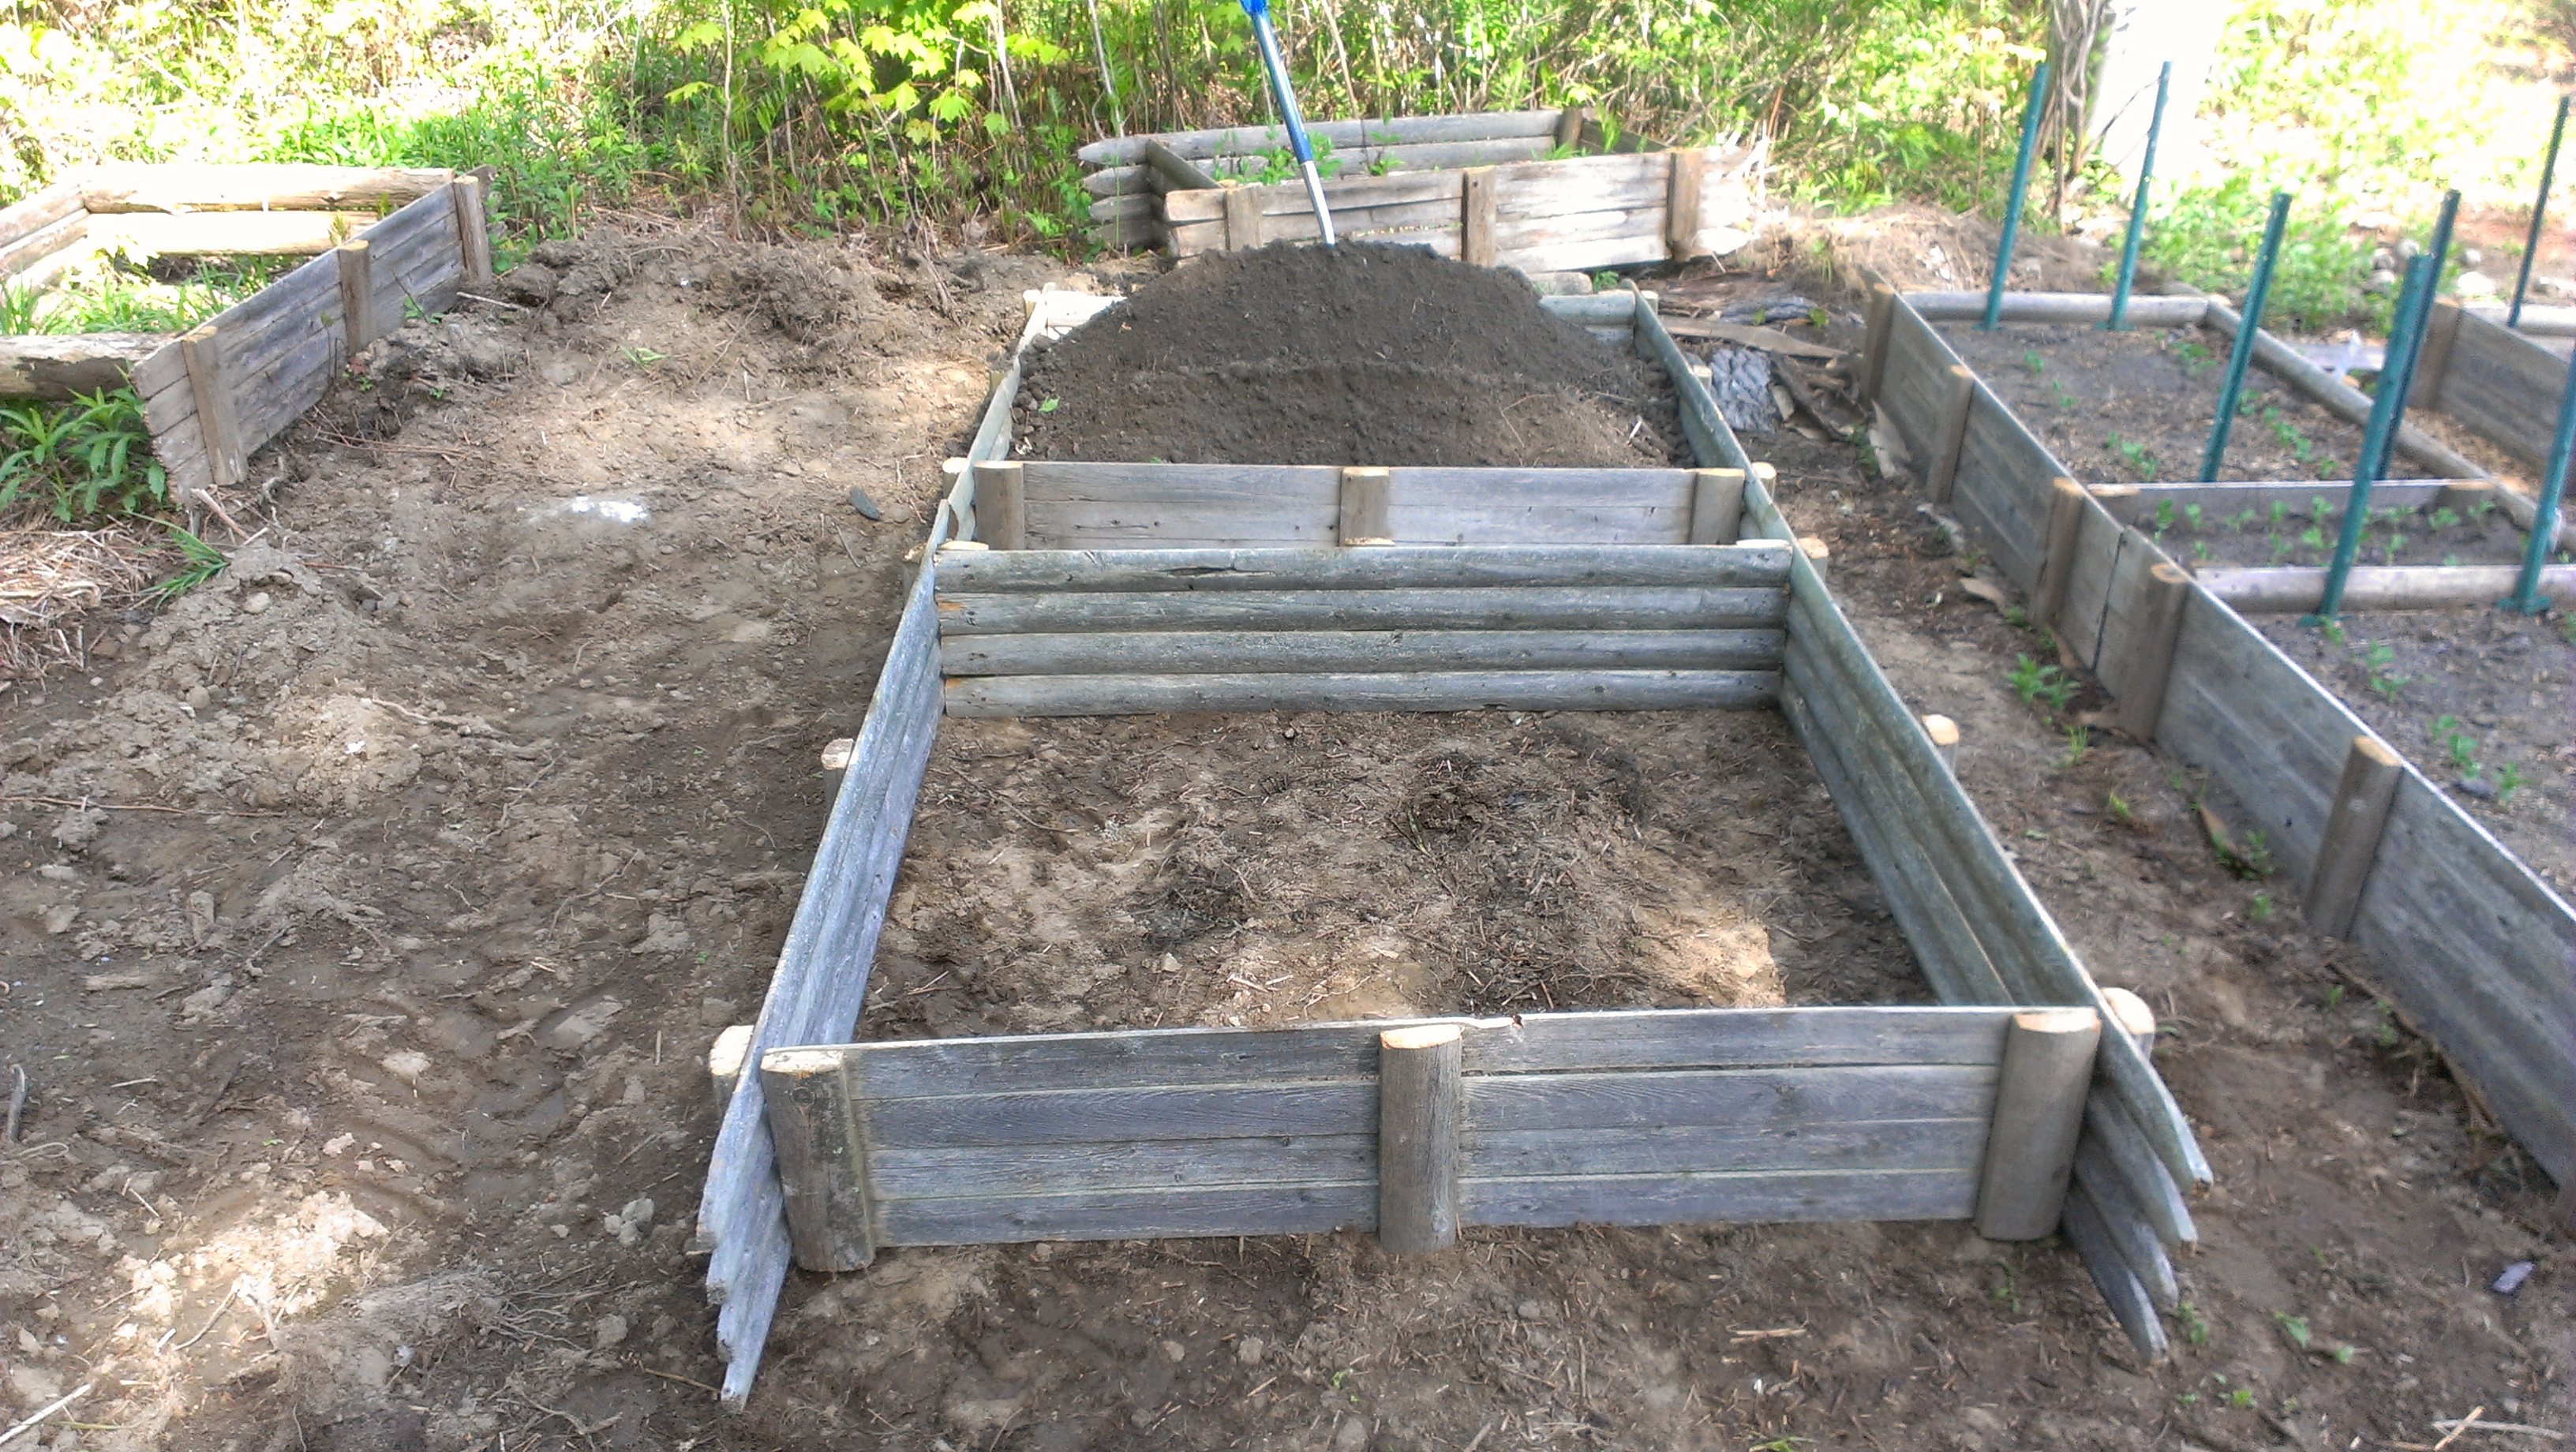
The next bed is placed after the first is filled.
For the first few beds that were put in place, we put clean cardboard down underneath to try and keep the prior occupants of the space from growing up through the soil as we’ve had happen before. For this row of beds, I used the blade of the tractor to remove nearly everything first. We’ll see what the difference is.
To the left of the first bed is a great big rock just under the soil. I was going to put thinner beds here at first, but when I found the rock, I decided to use wider beds to avoid putting a bed on the rock. I won’t build any more rows to the left this year, but I’ll be extending all the rows as I work back toward the yard. More to come.